How to hang a picture: our advice
Not everybody is a handyman and even the simple hanging of a picture can be a real challenge. Where should I hang it? Should I drill holes in the wall? Which tools and hanging equipment or material should I choose? Let’s try and answer these questions by giving you some advice and some simple tips to get the job done well.
Once you have become an expert you might ask yourself questions of a more aesthetic nature: we encourage you to read the article of Ryan Smith from Redfin on ‘Creative Ways to Display Photos in Your Home‘.
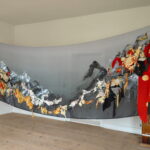
photographs by Gina Soden hanging at the Fotofever fair 2016
Where to hang a picture : Choose the ideal place for your art work.
First of all take the time to pick the ideal wall or space for the work. Take into consideration the decoration of the room, its style and colours. You are looking for a coherence for your room.
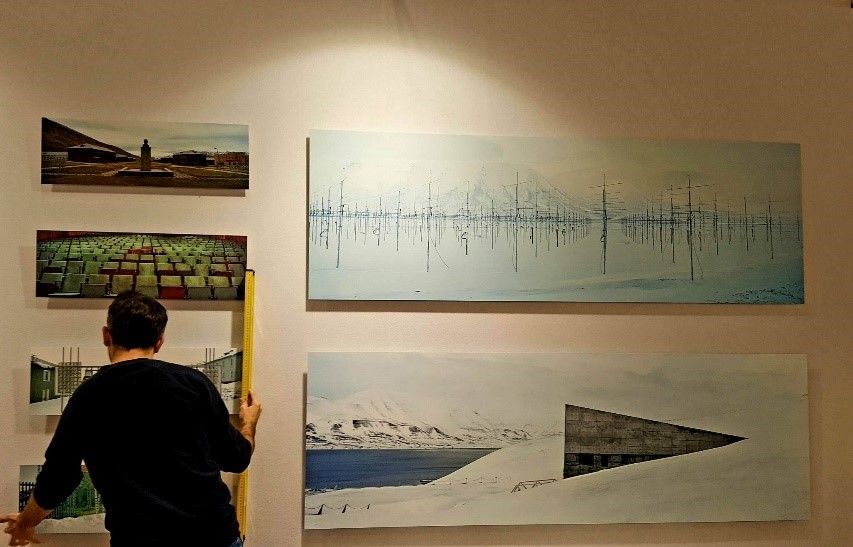
Aim for eye-level for hanging the work. To do that you should allow 1m50 from the floor to the centre of the picture and mark the wall. To find the centre divide the height of the work in two.
If it is a panoramic format aim for a slightly higher eye-level, 1m60 from floor to centre of the work.
If you are looking at a space above a sofa or any other piece of furniture leave 15 to 30cm between the top of the furniture and the lower side of the work. This should ensure a good coverage of the wall. It will also avoid your artwork being knocked or bumped.
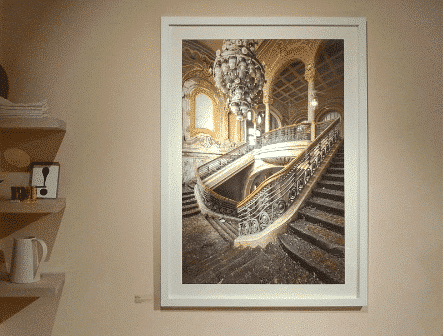
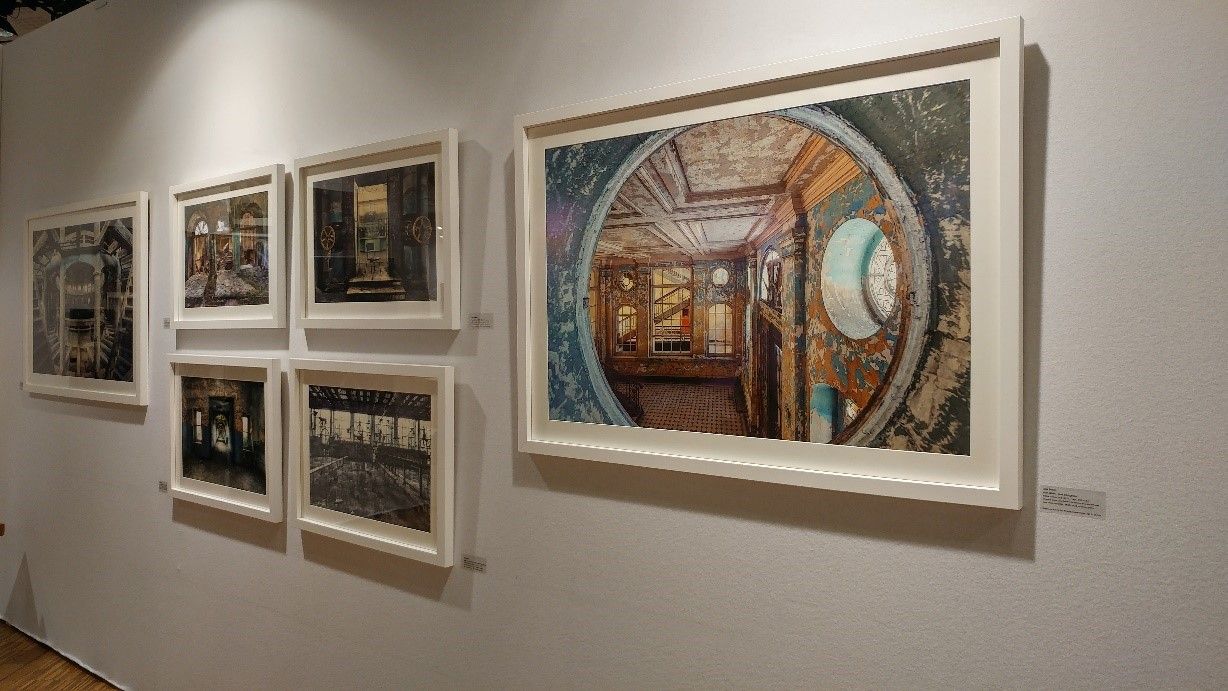
Source : Gina Soden. Grand Nouveau (2015).
How to choose the right tools to hang a painting ?
To hang a painting perfectly you will need :
– a spirit level to ensure that the picture is perfectly horizontal
– a tape measure
– an electric screwdriver
– an electric drill, to drill into thick wall if necessary
– a hammer, for picture hooks with nails
– nails, picture hooks, screws and wall plugs
How to take the correct measurements ?
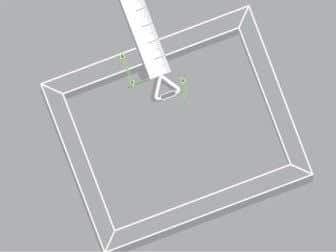
Once you have determined where, hold your picture on the wall and mark a point just above the frame on the vertical hanging axis.
On the back of the picture, measure the distance from the top of the frame to where the nail or hook will be to obtain the exact hanging place on the wall.
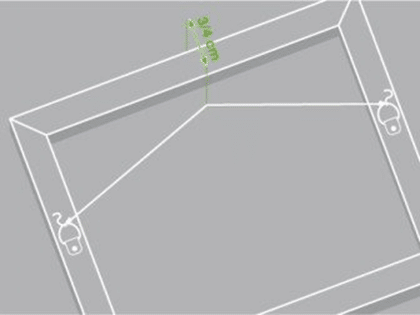
If your picture has a wire pull it tight to measure the correct distance.
Next simply measure the same distance down from the mark on the wall and that is where you are to place your picture hook or nail.
Sources : Leroy Merlin.
Above : reverse side of a picture frame with a loop.
Below : reverse side of a picture frame with a wire.
Should you drill? Work out the texture of the wall (concrete, plaster, brick etc) and remember the dimensions and weight of the artwork.
The type of fixture to be used depends on several factors : the type of wall, the weight and the size of the artwork.
– If your wall is hollow, i.e. in wood and plaster then you do not necessarily need to drill a hole in the wall.
A nail or screw fixture is your simplest solution and the one most adapted to hanging your picture or print. With a simple hammer, using the above mentioned measurement markings, attach you nail or picture hook in the appropriate place. The nail should be hammered in on a slight upward incline.
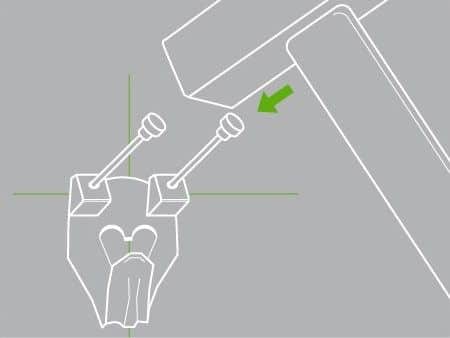
Source : Leroy Merlin. Diagram of a two nailed picture hook .
A warning, if your picture is large and heavy envisage 2 hooks for better stability. Once the picture is up, use a level to ensure that the work is straight by moving it left or right.
– SIf your supporting wall is thick i.e. in concrete, brick or stone then you will need to drill a hole to be able to hang your picture.
You will need a wall plug fixture : Drill a hole the same diameter as the wall plug. Remove any dust before tapping the wall plug in with a hammer. Then fix your screw, L-bolt or hook into the wall plug.

Source : Leroy Merlin. diagram of an L-bolt screw in a wall plug .
– Always remember you should take into consideration the weight of your picture to choose the most adapted fixture. It is always preferable for a weighty and/or large picture to choose a wall plug fixture even for a wall in plaster to guarantee better stability.
– For those of you adverse to DIY, you need to know that adhesive strips for frames also exist and are very easy to use! All you need do is stick the strip on the back of your frame and hold the lot onto the wall for 30 seconds. The picture will stay up and yet it is easy to remove and the strips supposedly will not mark the wall.
N.B. choose the correct strips for your picture! They can support between 1 and 7.5kgs depending on the model of adhesive strip.
– Finally let’s not forget the clip rail system as another great solution as once it is in place there is no drilling or nailing the wall. However very few individuals opt for this method, it is primarily used in art galleries.
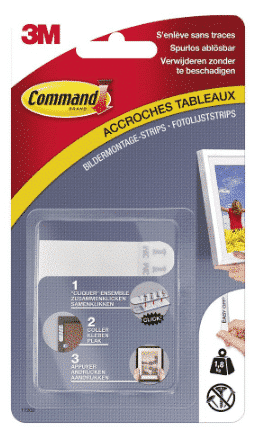
Source : Leroy Merlin. A packet of picture hanging strips capable of supporting a weight of 1.8kgs.
To sum up :
– Hang your picture at eye-level
– Consider the texture of the wall to choose the most suitable fixture
– Arm yourself with the right tools
– Prefer to drill your wall if what is to be hung is heavy and/or large.
On the same subject :